Tailored Collision Repair Solutions for Fleet Vehicles

The Ultimate Guide to Auto Collision Repair After an Accident
Paint chips caused by rocks, hail, or other road debris may seem like a minor blemish, but they can actually lead to significant issues if left unattended. Your vehicle’s paint serves as a protective layer, shielding the body of your car from rust and other environmental factors that can cause extensive damage. Ignoring these unsightly paint chips can not only diminish the overall appearance of your vehicle but also decrease its resale value. However, the good news is that you might be able to fix these paint chips yourself using the step-by-step guide we’ll provide in this article.
Key Takeaways
- Paint chips can lead to rust and further damage if left unrepaired
- Fixing paint chips can help maintain your vehicle’s appearance and resale value
- DIY paint chip repair is a cost-effective solution in many cases
- Proper preparation and the right tools are key to successful paint chip repair
- Knowing when to seek professional assistance is important for complex or widespread damage
Understanding Paint Chip Damage
Paint chips can come in various sizes, from tiny specks to larger chunks. Generally, we classify them as small (smaller than a dime), medium (up to the size of a quarter), and large (larger than a quarter). These paint chips can also vary in their severity, with some simply flaking off the surface while others may be spreading or exposing the underlying metal.
Types of Paint Chips
When it comes to the types of paint chips, we often see a combination of factors that contribute to their formation. Small chips can be the result of minor impacts or scratches, while medium and large chips may be caused by more significant collisions or corrosion. Regardless of their size, paint chip damage can lead to further issues if left unaddressed.
Consequences of Ignoring Paint Chips
- Spread of the chips, leading to a larger affected area
- Exposure of the metal body, increasing the risk of rust
- Deterioration of the vehicle’s overall appearance and resale value
Ignoring the impact of ignoring paint chips can have significant consequences for your vehicle. The chips can continue to spread, exposing the metal and allowing the onset of rust, which can further compromise the car’s integrity and appearance. Addressing paint chip damage promptly is crucial to maintaining the vehicle’s condition and preserving its resale value.

Preparing for Paint Chip Repair
Before you embark on the journey to fix those pesky paint chips, it’s crucial to assess the extent of the damage. After all, not all paint chips are created equal – some may be a minor inconvenience, while others can be a more significant concern. By carefully inspecting the affected area, we can determine the best course of action and gather the necessary paint chip repair tools and materials for paint chip repair.
Assessing the Extent of Damage
When it comes to assessing paint chip damage, the size and depth of the chip play a vital role. Small, shallow chips can often be repaired at home, while deeper or larger chips may require professional assistance. Take a close look at the affected area and consider the following factors:
- Size of the chip: Measure the length and width to get a sense of the overall area that needs attention.
- Depth of the chip: Gently run your finger over the surface to determine if the chip has penetrated the clear coat or the underlying paint layer.
- Presence of rust: Check if the exposed metal has started to rust, as this will require additional steps to address.
Gathering Necessary Tools and Materials
With the assessing paint chip damage complete, it’s time to assemble your toolkit. Depending on the severity of the chip, you may need the following paint chip repair tools and materials for paint chip repair:
- Water and mild soap for cleaning the area
- Rubbing alcohol to degrease the surface
- Fine-grit sandpaper to smooth the edges
- Primer to protect the exposed metal (if necessary)
- Touch-up paint that matches the color of your vehicle
- Clear coat to protect the repaired area
- Polishing compound and wax to blend the repair
With the right tools and materials on hand, you’re now ready to tackle the paint chip repair process with confidence. Remember, proper preparation is the key to a successful and long-lasting repair.
Step-by-Step Guide to Paint Chip Repair
Restoring the perfect finish on your vehicle after a paint chip can be a straightforward process. Let’s walk through the essential steps to repair paint chips and get your car looking its best again.
Cleaning the Affected Area
The first step is to thoroughly clean the area around the paint chip. Use a clean, soft cloth to gently wipe away any dirt, debris, or loose paint. This will help ensure a smooth surface for the upcoming repair.
Applying Primer (If Necessary)
If the paint chip has exposed the underlying metal, it’s important to apply a suitable primer before applying the touch-up paint. This will help the new paint adhere properly and prevent further damage to the exposed area.
Applying Touch-Up Paint
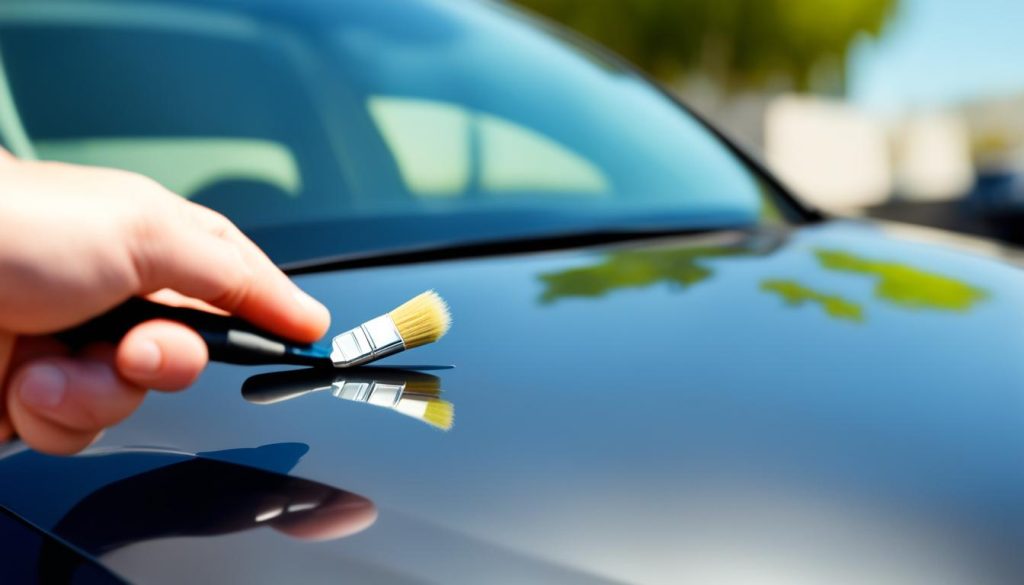
Carefully select the correct color match for your vehicle’s paint and apply the touch-up paint in thin, even layers. Be sure to follow the manufacturer’s instructions for the best results. Apply the paint in light, overlapping strokes to achieve a seamless finish.
Blending and Buffing
Once the touch-up paint has dried, use a fine grit sandpaper or a buffing pad to gently blend the repaired area with the surrounding paint. This will help minimize the visibility of the repair and create a smooth, uniform appearance.
By following these paint chip repair steps, you can effectively restore the appearance of your vehicle and protect it from further damage. Remember to take your time, work in a well-lit area, and follow all safety precautions for the best results.

Paint Chip Repair
While we can fix many paint chips on our own, there are some instances where it’s best to seek professional assistance. If the paint chip is large, has rust underneath, or is accompanied by significant flaking or deep scratches, it’s recommended to have a professional repair the damage.
Professional auto body shops like Miracle Body and Paint have the expertise and equipment to ensure a proper and lasting repair. They can expertly assess the extent of the damage and take the necessary steps to restore the vehicle’s finish to its original condition.
When to Seek Professional Assistance
When it comes to when to get professional paint chip repair, the decision ultimately depends on the severity of the issue. For small to medium-sized paint chips, a DIY approach can be a cost-effective solution. However, for larger or more complex problems, it’s best to leave it to the professionals. They have the skills and tools to handle more intricate repairs and ensure a seamless finish.
DIY vs. Professional Repair
- DIY paint chip repair can be a great option for small to medium-sized chips, as it can save you money and allow you to take care of the problem yourself.
- However, for DIY vs. professional paint chip repair, larger or more complex issues may be better suited for a professional service. They have the expertise and equipment to properly assess the damage and execute a long-lasting repair.
- Ultimately, the decision between DIY and professional paint chip repair depends on the extent of the damage and your own skill level. If you’re unsure, it’s always best to consult with a professional for guidance.
Conclusion
In conclusion, fixing paint chips on your vehicle is crucial to maintaining its appearance and protecting it from further damage. By understanding the types of paint chips, their consequences, and the proper repair process, we can effectively address small to medium-sized damages on our own. However, for larger or more complex paint chip issues, it’s often best to seek the expertise of a professional service like Miracle Body and Paint to ensure a high-quality and lasting repair.
Remember, addressing paint chip damage quickly is key to avoiding more extensive and costly problems down the road. By taking the time to properly assess and address these issues, we can keep our vehicles looking their best and prevent further deterioration. Whether tackling the repairs ourselves or enlisting the help of a professional, addressing paint chip damage is an essential step in preserving the beauty and value of our vehicles.
Ultimately, the decision to handle paint chip repair yourself or seek professional assistance will depend on the extent of the damage and your own comfort level with the process. By weighing the pros and cons, we can make an informed decision that best suits our needs and ensures the long-term health of our vehicle’s finish.


