
How to Get Insurance Approval Before Collision Repairs Begin
Choosing the Right Paint Finish for Your Vehicle Repair
Minor collisions can happen to anyone. They leave our vehicles with unsightly rear bumper damage. Knowing how to fix this is key to saving time and money.
In this article, we’ll look at ways to fix minor collision damage. We’ll guide you through the steps to repair your rear bumper. This way, we can make our vehicle safe and look good again.
If you’re feeling lost, don’t worry. Getting help from a professional is always a good idea.
Key Takeaways
- Understanding rear bumper damage helps in assessing repairs.
- DIY methods can be effective for minor damages.
- Professional help is advisable for extensive repairs.
- Safety is a priority when undertaking repairs.
- Choosing the right repair shop can impact the quality of repairs.
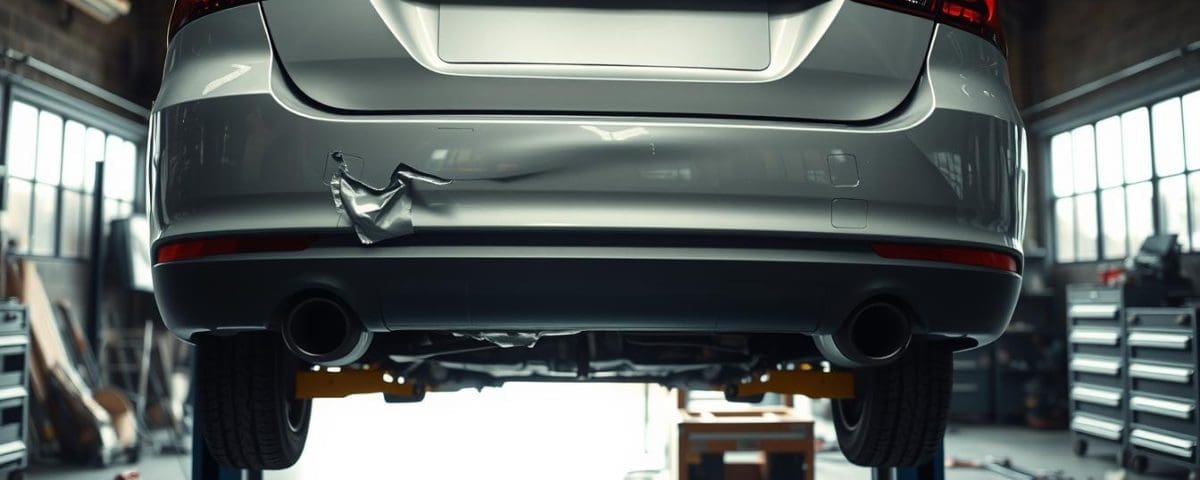
Understanding Rear Bumper Damage
We see many kinds of rear bumper damage after small crashes. Knowing these can help us keep our cars in good shape. Let’s look at the usual rear bumper damage and signs of bigger problems.
Common Types of Damage
After a crash, we need to check our rear bumpers for:
- Dents: Small dips that might not hurt the bumper’s shape.
- Scratches: Marks on the surface that can cause rust if not fixed.
- Cracks: Big breaks that harm the bumper’s ability to absorb impacts and might need to be replaced.
Signs of Damage Beyond the Surface
It’s important to look for hidden problems. Possible hidden issues include:
- Impact absorption: If the bumper took a big hit, it might not be safe anymore.
- Structural concerns: Signs like the bumper or body not lining up right can mean bigger issues.
Assessing the Extent of Damage
We start by looking closely at the rear bumper damage. This helps us save time and money. We can then figure out if we can fix it ourselves or need a pro.
Visual Inspection Techniques
To check the damage well, we follow these steps:
- Look for cracks in the bumper; they might show deeper problems.
- Check if the bumper is straight; if not, there could be hidden damage.
- Check the paint; small scratches can be fixed, but big ones might need a pro.
- See if any parts are loose; if so, check them carefully.
When to Seek Professional Help
Some damage needs a pro. If you see these signs, get help from experts:
- Big structural damage that’s not safe.
- Electrical problems from the crash, like with sensors or wiring.
- Many parts damaged; fixing them needs special skills.

Safety First: Preparing for Repair
Getting ready for rear bumper repair is all about planning. We need to pick the right tools and make a safe space. This way, the repair goes smoothly and looks great.
Gathering Necessary Tools and Supplies
First, we gather the right tools. Here’s what we need:
- Repair kits for small dents
- Sandpaper in various grits
- Quality paint and primer
- Protective gear like gloves and safety glasses
- Heat gun or hairdryer for flexible materials
Having the right tools makes the repair faster and more confident.
Ensuring a Safe Work Environment
Keeping the work area safe is key. Here’s how we do it:
- Choose a well-ventilated area, preferably outside.
- Clear away any clutter that could be a tripping hazard.
- Ensure all electric tools are in good condition and properly grounded.
- Have a first aid kit on hand for emergencies.
Rear Bumper Damage Repair: DIY Methods
Accidents can be scary, and they often damage our car’s rear bumper. But, we can fix it ourselves with DIY methods. We’ll look at using repair kits for small dents and how to repaint to make it look new again.
Using Repair Kits for Small Dents
Repair kits are great for fixing small dents and dings. They come with tools and compounds to help us fix it without a pro. Here’s how to use a repair kit:
- Clean the Area: First, wash the damaged spot well to get rid of dirt.
- Choose the Right Tool: Pick the right tool from the kit, like a dent puller or suction cup.
- Apply the Repair Compound: Put on the compound as the kit says.
- Follow Up: Let the compound dry, then sand it if needed.
How to Repaint a Damaged Bumper
After fixing the damage, we need to make it look good again. Repainting is key for scratches or faded spots. Here’s how to repaint well:
- Prep the Surface: Sand the area lightly to help the paint stick. Clean it again to remove any dirt.
- Choose the Right Paint: Pick paint that matches our bumper’s color. Use the manufacturer’s paint code for the best match.
- Apply Primer: Primer helps the paint stick better and looks smoother.
- Spray Paint Evenly: Spray paint in light, even layers. This avoids drips and uneven spots. Wait a bit before adding more coats.
- Finish with Clear Coat: After the paint dries, add a clear coat. This protects and makes it shiny.
When Bumper Replacement is Necessary
Choosing between bumper repair and replacement can be tough. Not all damage can be fixed. Knowing when to replace the bumper is key to keeping our car safe and working right.
We need to watch for signs that repair won’t do. If there’s big damage, holes, or deep cracks, we should replace the bumper.
Identifying When Repair Won’t Suffice
Here are signs that might mean we need a new bumper:
- Extensive Damage: Big dents or cracks that go beyond the surface.
- Compromised Safety: Damage that could make the bumper less safe in future crashes.
- Worn Out Material: Age and wear that make the bumper weak.
- Misalignment: A bumper that’s not even with the car body, showing it’s not working right.
Steps to Remove and Replace Your Bumper
If we choose to replace the bumper, following these steps helps:
- Gather Tools: We need a socket set, screwdriver, and any special fasteners or clips.
- Disconnect Lighting: Take out any electrical connections for lights in the bumper.
- Remove Fasteners: Find all screws and clips holding the bumper, and take them out carefully.
- Detach the Bumper: With fasteners gone, pull the bumper off gently. Watch out for wires or sensors.
- Install New Bumper: Put the new bumper on the car frame, using the same fasteners we took out.
- Reconnect Lighting: Plug the electrical connectors back in, making sure the lights work.
By watching for these signs and following these steps, we can make smart choices about bumper replacement. This keeps our car in top shape.
Cost Considerations for Repairing or Replacing a Bumper
Knowing how much it costs to fix or replace a bumper is key for car owners. The price can change a lot based on different things. Knowing this helps us plan our car care better.
Understanding the Expense Involved
The price of fixing a bumper depends on the damage. Small scratches or dents cost less than big damage. If the damage is too much, you might need a new bumper. This adds to the cost.
When thinking about getting a new bumper, remember the cost of parts and labor. Getting quotes from different places helps you know what to expect.
Factors Influencing Repair Costs
Many things affect how much it costs to fix or replace a bumper. These include:
- The severity of the damage: More damage means higher costs.
- Type of vehicle: Cars that cost more to make and fix have higher prices.
- Location: Shops in cities might charge more than those in the country.
Knowing these things helps us plan better. We can fix or replace our bumpers with confidence.

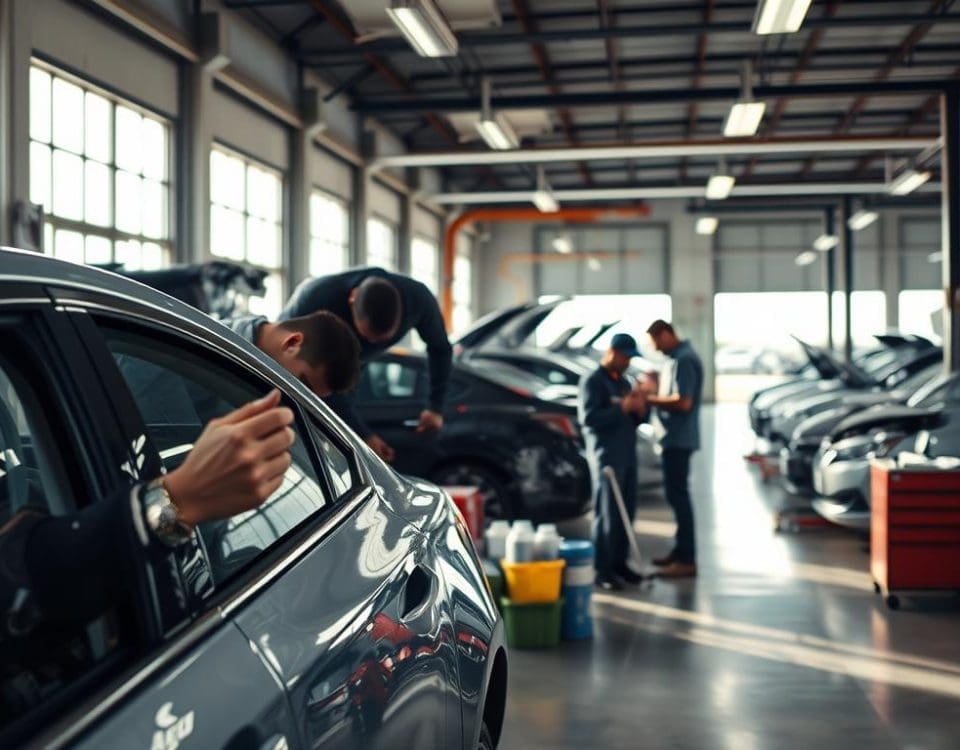
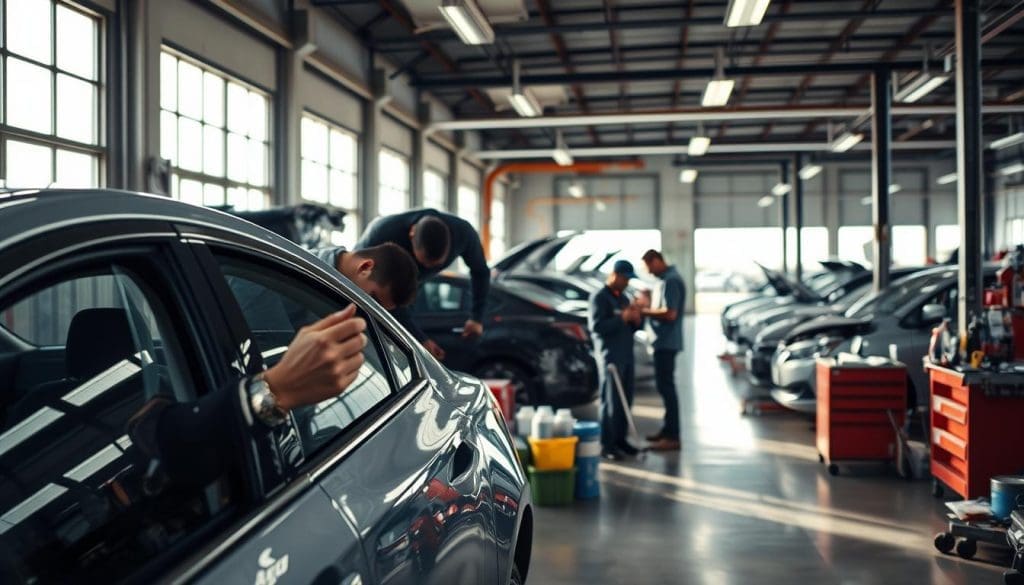
Choosing the Right Body Repair Shop
Finding the right body repair shop is key to fixing our cars well. The right choice means the repair is done right and we feel at ease. We must check the shop’s qualifications and read what others say to make a good choice.
Qualifications and Certifications to Look For
When picking a body repair shop, look for certifications and strong qualifications. Here’s what to search for:
- ASE Certification: Shows top-notch car repair skills.
- Manufacturer Certification: Means the shop knows how to fix cars right.
- Insurance Affiliations: Shows the shop is trusted by insurance companies.
Reading Reviews and Getting Recommendations
Customer reviews are very important. They tell us what others think of the shop. We should look at:
- Online reviews on Google or Yelp for a wide view.
- Friends, family, or coworkers’ advice on local shops.
- Photos of before-and-after repairs to see the shop’s work.
Conclusion
We talked about fixing rear bumper damage after a crash. It’s key to know the types of damage and look for signs that aren’t obvious. We also said how to figure out how bad the damage is and when to get help.
If you’re dealing with bumper damage, our advice is simple. If you can’t fix it yourself, get help from a pro. Miracle Body and Paint in San Antonio is ready to help. They have two locations and promise to fix your car well.
By following our tips, your car will look good and be safe to drive. Whether you fix it yourself or get help, we want you to know what to do. We aim to help you with any bumper repair needs.