
Why a Lifetime Warranty Matters When Choosing an Auto Body Shop
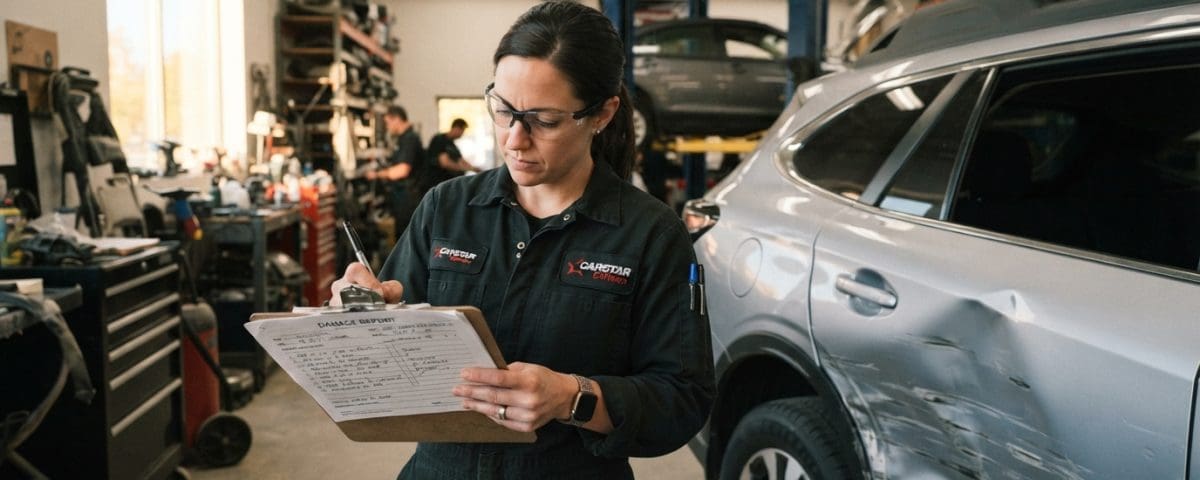
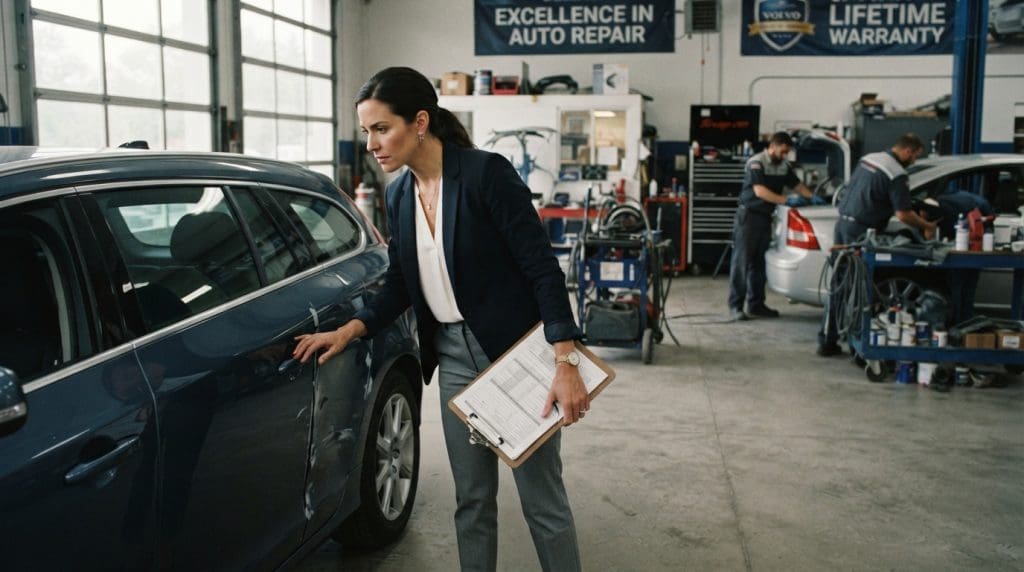
A repaired vehicle should be checked at several points in its repair journey, not just at the finish. Collision repair quality control can cover the vehicle, repair records, and promises made to you. Checks should happen at each important handoff.
When damage leaves you relying on a shop and your insurance, clear checks can help build trust. They can also reveal whether the repair plan, parts, and customer commitments still match the job.
You’ll see what happens at check-in and blueprinting, before and after paint, and during final inspection. You’ll also learn what to ask about a shop’s process. Defined checks at each transition help keep the work on track.
Key Takeaways
- Inspections should take place throughout the repair, not only before pickup.
- A check can cover the vehicle, repair records, and customer promises.
- Teardown and blueprinting help confirm the scope and parts needed.
- Paint, assembly, and final delivery each call for their own checks.
- You can ask a shop how it records inspections and handles problems.
What Does Collision Repair Quality Control Cover?
A quality check covers more than whether the repaired panels look smooth. Quality control (QC) is a system of checking work at planned stages against clearly defined standards. A complete QC process checks physical work, repair steps, and customer commitments.
Physical repair quality means the vehicle’s repaired areas look and work as intended. The shop checks that parts fit, surfaces meet its standards, and vehicle systems operate after the repair.
Procedural quality means technicians follow the repair plan and applicable instructions. The shop also checks whether the work has been recorded and whether the right parts were used or ordered.
Documentation and customer commitments matter, too. The estimate, repair file, and promised services should reflect what the shop has done and what you expect at delivery.
A collision repair quality control checklist can make inspections repeatable. It should guide checks for the specific vehicle and repair plan, not replace either one.
- Repair appearance and fit, including panels and trim.
- Operation of mechanical and electrical components.
- Completed estimate work and parts status.
- Customer promises and repair file records.
Strong systems use clear standards, planned checkpoints, and recorded sign-offs. A technician or inspector should know what to check, when to check it, and where to record the result.
For example, a general note to “check the body” offers little direction. A standard for panel fit gives the inspector a clearer task and a useful record.
Standards can vary by vehicle and repair, so shops need to match the checklist to the job. Consistent checks help prevent missed work and costly rework. Their timing matters just as much as their content.
Why Inspect Repairs at Every Stage?
A missed repair issue is usually easier to correct before the next department builds over it. Once parts go back on, hidden repairs may be hard to inspect without taking components apart. Staged checks can catch problems while the work remains accessible.
A single final inspection cannot always show what happened beneath trim, panels, or other parts. A review at the right time lets the shop see work before another step conceals it.
- Catch a defect before later work conceals it.
- Avoid repeating costly work that is already finished.
- Keep estimate and documentation discrepancies from carrying through the job.
Each reason affects the repair process in a different way. An early check may reveal a bodywork issue, while a file check may flag an estimate line that no one has addressed.
Fixing a problem before paint can take less time than removing finished parts or refinishing a surface. That can help shops maintain consistency without asking a later team to redo completed work.
Accurate records also help the shop, insurer, and customer stay focused on the same repair scope. If the estimate and actual damage differ, the shop can address the difference before it becomes harder to track.
Insurer or OEM expectations may call for documented procedures, but requirements vary by repair and vehicle. One workflow does not fit every job, so the shop must use the rules that apply.
These checks have the most value when they happen before a handoff. The first ones establish the vehicle’s condition and the plan for the work.
What Happens at Check-In and Blueprinting?
Before a technician begins the repair, the shop needs a reliable record of the vehicle’s condition and planned work. Check-in sets the starting point, while teardown and blueprinting help refine the scope. The estimate, parts, and repair plan should agree before work moves forward.
The shop records visible damage that appears related to the collision and notes damage that may be prior. This record can help clarify which damage belongs in the repair plan.
Check-In Establishes the Starting Point
Check-in also helps the shop learn how to communicate with you during the repair. Staff may ask how you prefer to receive updates and how payment is expected.
Before repair work begins, a technician may use a scan tool to check vehicle systems. A dashboard warning lamp does not have to be on for a scan to find diagnostic trouble codes (DTCs).
Blueprinting Turns Findings Into a Repair Plan
During teardown, technicians remove parts as needed to see damage hidden from view. Blueprinting then checks the repair plan against the estimate and the parts ordered or loaded for the job.
A mismatch can point to a missing part or an estimate item that no one has accounted for. The shop can then review the scope and update the plan before the repair proceeds.
| Stage | Main check | What it helps confirm |
|---|---|---|
| Check-in | Collision-related versus prior damage | Starting condition and repair scope |
| Teardown | Newly exposed damage and components | Whether the initial scope needs revision |
| Blueprint | Estimate lines matched to parts and repair plan | Whether the job is ready to move forward |
These early records connect the vehicle’s damage to the planned work and insurance file. They also give the shop a chance to address a parts gap before a technician needs that part.
Catching missing scope and parts early prevents a scramble later. Once the repair plan is set, the next stop is a check before paint.
What Is Checked Before Paint?
The best time to catch a bodywork defect is before fresh paint makes it more expensive to correct. Before paint, the shop checks the repair and surface against the plan. Paint readiness is a stop point, not a quick glance.
The inspector looks at panel shape and fit, then reviews filler work and feather-edging. The surface should meet the shop’s defined standards before it receives a coating.
Inspect the Bodywork and Surface Preparation
Seam sealing and corrosion protection also need attention where the repair calls for them. The inspector checks whether the required steps are complete, rather than assuming they happened.
Relevant panels or trim may be test-fitted to confirm alignment. The shop should define finish expectations with its own standards and the repair procedure, not one universal grit specification.
Confirm the Repair Plan and Paint-Stage Readiness
The inspector compares performed work with the estimate in both directions. Each estimate line should be accounted for, and work already performed should appear in the repair record.
The shop also confirms that paint-stage parts are on hand. Reassembly parts should arrive in time for the next steps, so a missing part does not delay work after paint.
| Check | What to verify | Why before paint |
|---|---|---|
| Panel and bodywork | Surface shape and fit | Avoid refinishing a defect |
| Filler and preparation | Smooth finish with no visible pinholes or poor feathering | Catch surface flaws before coating |
| Seams and corrosion protection | Required sealing and protection are present | Avoid concealing an incomplete step |
| Parts and estimate | Work matches the estimate and needed parts are accounted for | Reduce paint-stage delays and rework |
For instance, a panel that looks smooth at one angle may show a flaw under shop lights. A checkpoint gives the inspector a chance to flag it before the finish hides the repair surface.
Paint readiness means the shop has addressed the items that must happen first. That approval should come before the vehicle enters the paint stage. Paint quality then gets its own check before assembly.
How Are Paint and Panels Checked Before Assembly?
A vehicle can have properly prepared bodywork and still need a paint-stage correction before reassembly. Before parts go back on, the shop checks the finish, color match, and painted areas against the plan. It is simpler to correct an incomplete paint operation before assembly.
The inspector checks color match, gloss, and finish uniformity on the areas painted. The review should also include masked edges and visible corrosion protection where the repair calls for it.
The estimate helps show which panels or parts should have received paint work. The inspector checks that those areas were painted as planned, rather than assuming every repair needs the same operations.
For example, an estimate may include a radiator support repair. The shop should confirm that the support received the planned paint work, not just a small touch-up on a less visible spot.
That check links the repair record to the finished vehicle. If a listed operation is incomplete, the shop can address it while the area remains easy to reach.
Paint quality is not only about the visible outer panels. Some repair areas matter because of the work listed in the estimate, even when drivers rarely see them.
A short review now can prevent extra disassembly later. Once the shop confirms the paint work, it can move on to checks of vehicle operation after assembly.
What Happens After Assembly and Before Detailing?
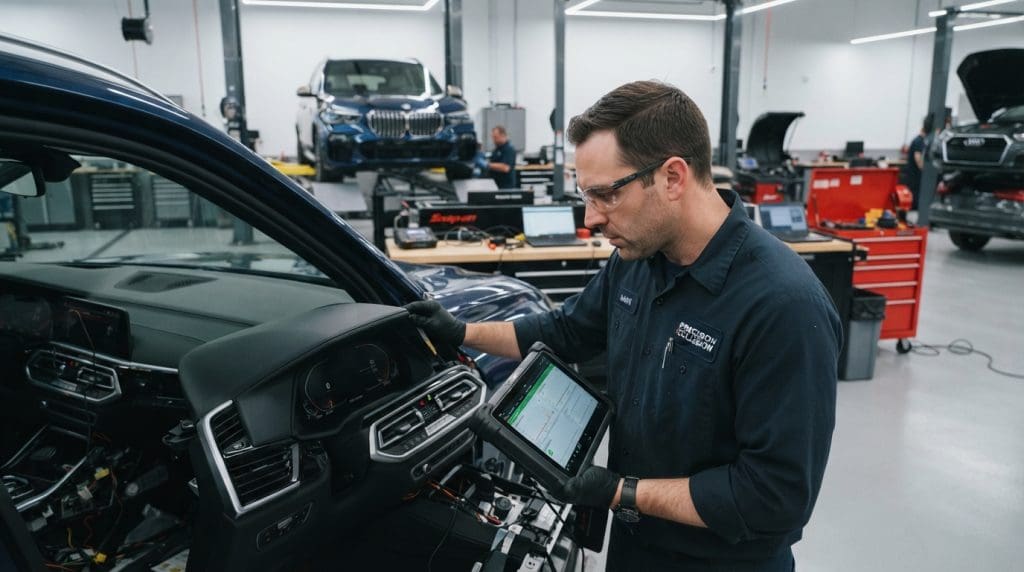
Once the vehicle is assembled, a road test and a fresh systems check can reveal problems a visual inspection cannot. Before detailing, the shop checks vehicle operation, panel fit, and required procedures. A scan alone does not prove that a repair is complete.
The vehicle should be test-driven to look for handling concerns, alignment issues, or unusual sounds. The driver can notice changes that may not show up while the vehicle sits in the shop.
Scan, Calibrate, and Road-Test as Required
After assembly, the shop scans again for DTCs. Removed trim panels and other components can be linked to trouble codes, even when no dashboard warning lamp appears.
Required ADAS calibrations should follow applicable OEM procedures. ADAS means advanced driver assistance systems, and calibration needs depend on the repair and vehicle instructions.
Check Components, Fit, and Customer Commitments
The inspector checks electrical and mechanical components, panel fit and operation, and fluid levels. The shop also verifies that customer promises tied to the job have been met.
These checks should match the vehicle and repair plan. Not every collision repair calls for the same calibration or test, so the applicable procedures guide the work.
| Check | How it is verified | Examples of issues it may catch |
|---|---|---|
| Road test | Drive the repaired vehicle | Handling concerns or unusual sounds |
| DTC scan | Use a scan tool after assembly | Codes without an illuminated warning lamp |
| Systems and calibration | Check operation and complete required procedures | Electrical or ADAS issues |
| Fit, function, and fluids | Inspect panels, components, and fluid levels | Poor fit or an incomplete reassembly step |
A new code needs review, but a scan result alone does not explain its cause. The shop must assess the issue and complete any repair or follow-up procedure that applies.
The vehicle should move to detailing only after operational checks and promised work are complete. The final shop review then confirms it is ready to be presented to you.
What Does the Final Quality Control Inspection Verify?
The final check is a last confirmation that the repair and delivery are ready to be presented to you. It checks the handoff, not just the work in the repair bay. The shop should confirm that agreed work and delivery tasks are complete.
Final QC often uses a short checklist. The person handling your customer file may also discuss the repair with you at delivery.
Some shops include file management and the final bill in this review. Others organize those tasks elsewhere, so the exact process can vary by shop.
- Repair promises are marked complete.
- The repair file is in order.
- Final billing is prepared.
- The vehicle is clean.
- The delivery handoff is ready.
A clean vehicle and an organized file help the shop present the repair clearly. The file can also help answer questions about the work and any agreed customer commitments.
The final review has a different job from an earlier inspection. A paint-stage approval, for example, does not confirm that the bill or delivery paperwork is ready.
An earlier checkpoint does not replace the final handoff review. Once the shop signs off, you can make a few practical checks at pickup.
What Should You Do If You Notice a Problem at Pickup?
At pickup, take a moment to look at the repaired areas and ask about anything that does not match what you expected. Raise concerns before you leave when possible. For a warning light, unusual noise, or handling change, contact the shop promptly.
Look over repaired panels and paint in good light. Check visible fit and trim, and confirm that the interior is clean.
Look Over the Vehicle Before You Leave
If a repair-file item or warning light is unfamiliar, ask the advisor to explain it. You do not need to guess what a note means or whether it affects the vehicle.
Write down or photograph a concern so you can describe where and when you noticed it. A clear record can help the shop assess the issue.
Contact the Shop About a Concern After Pickup
Contact the shop promptly if you find a problem after leaving. Give a plain account of what changed, when it happened, and whether the vehicle shows a warning.
Do not dismantle or try to repair a safety-related component yourself. If the vehicle seems unsafe, avoid driving it and ask the shop how to arrange an assessment.
A concern does not by itself show what caused the issue. A professional review can help the shop decide whether the repair, a vehicle system, or another factor needs attention.
Good communication supports trust between you and the collision repair shop. Clear, prompt details give the shop a chance to assess the concern, and give you a useful starting point when comparing repair facilities.
How Can You Tell Whether a Shop Has a Reliable QC Process?
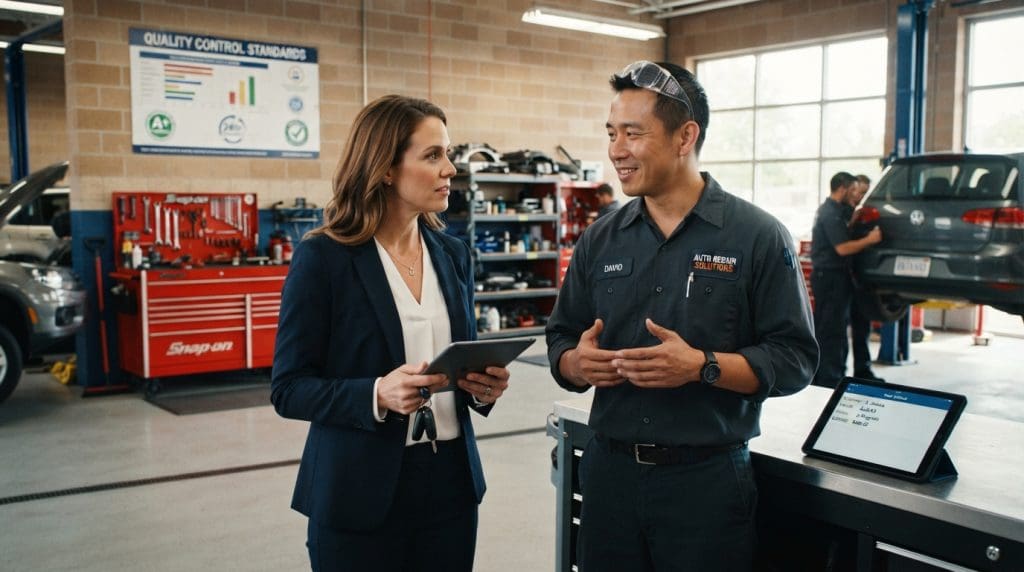
Ask a prospective shop what must be checked before a vehicle moves from one repair stage to the next. Specific answers matter more than a broad promise of quality. Look for clear checks, records, and follow-up when something fails.
A shop should be able to describe how its process works without suggesting every repair follows an identical path. Documentation practices can differ by repair and vehicle.
Ask How the Shop Checks Work at Each Stage
Ask whether the shop uses stage-specific checklists and follows applicable OEM procedures. A useful answer explains how checks fit the repair, not just that the shop has standards.
You can also ask how the shop records teardown and structural or weld work. Photos may help document those steps where appropriate.
Ask whether scan results and required calibration results go in the repair file. Those records can show which procedures the shop completed for your vehicle.
Ask What Records and Follow-Up You Can Expect
Find out who handles a problem when a check finds one. The shop should be able to explain how it assigns follow-up and confirms the issue has been addressed.
Ask what inspection records you may receive when the job is complete. Shops, insurance partners, and repair plans may use different records, so the answer can depend on the job.
A shop’s process says more than a general claim about quality. Concrete standards and records make the process easier to understand and help you compare shops on the same points.
Compare the answers you receive about checks and records before choosing where to authorize work. Then you can contact Miracle Body and Paint Collision Center about fixing your vehicle.
Conclusion
A dependable repair is supported by checks before, during, and after the hands-on work. Early checks and final review both matter, since they catch different gaps in the repair and delivery process.
When collision damage affects your vehicle, choose a shop that can explain its checks and records. You can hire Miracle Body and Paint Collision Center to fix the collision damage on your vehicle.
North West San Antonio, Leon Valley
(210) 680 -1987
6217 Grissom Rd., San Antonio, TX 78238
North East San Antonio
(210) 858-3630
4650 Walzem Rd, San Antonio, TX 78218
Contact Miracle Body and Paint Collision Center at either San Antonio location to discuss your repair.