

Signs Your Car Has Frame Damage After a Collision

What Does “I-CAR Certified” Actually Mean for Your Repair?
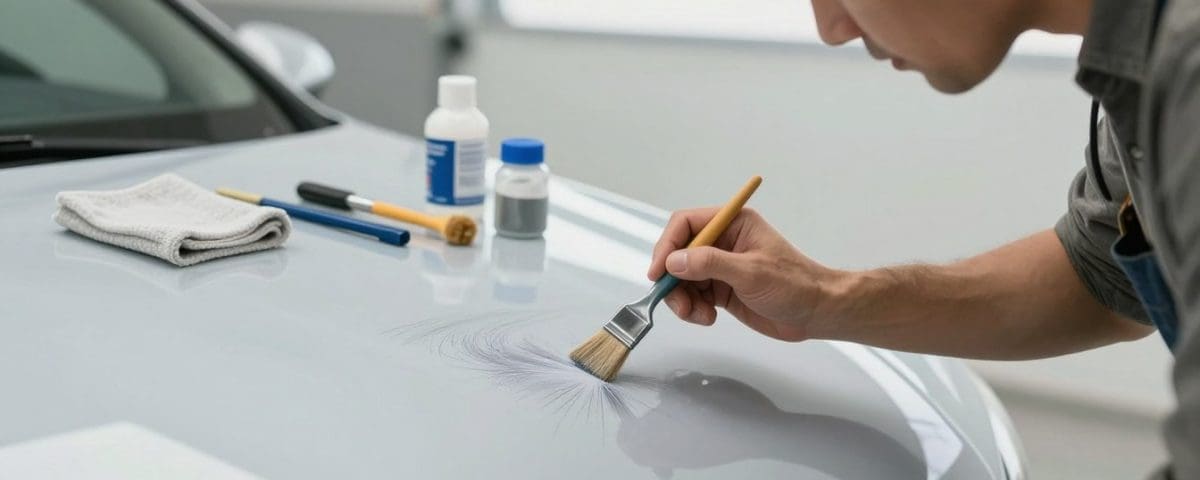
You want a quick fix when a mark mars your vehicle’s finish. Small abrasions from road debris or a stray pebble often look worse than they are, but left alone they can expose metal and invite rust.
First, assess depth. Superficial clear coat scuffs can improve with proper touch-up paint and careful scratch removal. Deeper primer scratches or coat scratches need more skill to restore a showroom look.
Miracle Body and Paint Collision Center offers expert evaluation when you are unsure. Acting fast protects resale value and prevents bigger, costly work later. Regular wash and prompt attention keep your finish strong and help you decide if a DIY kit or a professional service is best.
Key Takeaways
- Quick assessment of the damage helps determine if you can handle the job.
- Minor blemishes often respond to touch-up paint and basic scratch removal.
- Deep primer or clear coat damage usually needs a professional service.
- Prompt action prevents rust and preserves your vehicle’s value.
- Keep your finish clean with routine wash to avoid further harm.
Understanding the Anatomy of Your Car Paint
Think of your vehicle finish as stacked shields—each serves a purpose. The modern paint system usually has three main layers: the clear coat, the color coat, and the primer. Each layer protects the next and gives the final glossy finish.
Clear Coat Layers
The clear coat is the top lacquer that guards against UV rays and oxidation. It gives shine and hides small surface marks. If a mark only affects this layer, the color coat below stays intact.
Primer and Metal Exposure
The primer is a gray base sprayed onto bare metal to make the paint adhere and look even. When damage goes through the clear coat and color coat to the primer, you may see a gray line.
- Clear coat: primary shield against sun and weather.
- Color coat: gives the vehicle its look and may have flakes or pearlescence.
- Primer/metal: exposed metal means a higher risk of rust and needs prompt attention.
Assessing the Severity of Your Scratch Repair Car Damage

A quick fingernail test helps you tell if the mark is only on the surface or much deeper.
First, wash and dry the area so dirt and debris do not hide the true condition.
Run your fingernail gently across the mark. If your nail catches, the depth likely goes past the clear coat and into the color coat or primer.
Clear-coat scratches are the most common and usually the easiest to fix with a polishing step or a touch-up product.
- If the finish shows color loss or gray primer, you may need panel repainting.
- Exposed metal or plastic typically requires professional body work; costs can range from $800 to $1,500 for deep jobs.
- If you are unsure, show the area to a technician; a service pro can give an accurate estimate.
Tip: If you try touch-up paint, match your vehicle’s factory color exactly. For guidance on choosing between DIY vs professional options, see DIY vs professional options.
When to Attempt DIY Scratch Removal
Deciding to tackle light blemishes yourself can save time and money when you know the limits. DIY work suits surface issues that don’t reach the primer or metal beneath the paint. If your fingernail doesn’t catch, the mark is likely only in the top layer.
Selecting the Right Repair Kit
Pick a kit designed for clear coat work. The Meguiar’s Scratch Eraser Kit is a popular, budget-friendly option at about $20.
Make sure the kit includes compound, pads, and clear instructions. Follow the manufacturer steps to avoid damaging surrounding finish.
Proper Cleaning Techniques
Start by washing the area with mild soap and water. Use a microfiber cloth to remove dirt debris so you see the true condition.
Let dry completely before you apply any touch-up paint or clear coat. Working in shade prevents products from drying too fast.
Buffing and Polishing Best Practices
When you buff, use a back-and-forth motion to blend the mark into the surrounding paint. To remove excess compound, wipe with a clean microfiber cloth.
If you encounter primer scratches, sand lightly, then apply primer and color in thin layers. Patience at each step helps you fix scratches effectively.
- Tip: Apply touch-up paint in thin layers and let each layer dry before adding the next.
- Tip: DIY is best for light surface damage that does not reach metal.
The Benefits of Professional Collision Repair

When damage goes beyond a small blemish, you want a lasting fix that looks right. A professional body service uses OEM paint to match factory color and blend across panels. This hides transitions and keeps the finish uniform.
Ensuring OEM Quality and Color Matching
Experts use calibrated mixing and professional-grade touch-up paint to match tones precisely. They also follow strict steps for surface prep so the new layer bonds well to the existing coat.
- OEM-quality paint: factory color match for a seamless look.
- Panel blending: hides edges between old and new finish.
- Metal exposure: professionals stop rust by treating primer and metal properly.
| Benefit | What the shop does | Why it matters |
|---|---|---|
| Color match | Use OEM paint mixes and spectrometer checks | Restores original look and resale value |
| Surface prep | Clean, sand, and prime to ensure adhesion | Prevents peeling and long-term damage |
| Finish polish | Remove excess material and buff to shine | Delivers a factory-like gloss |
| Structural checks | Inspect underlying body and frame | Keeps vehicle safe and roadworthy |
Tip: Ask for a color match guarantee and a clear list of the steps used. If you see deep scratches that touch metal or primer, trust a pro to handle the job and protect your investment.
Preventive Maintenance to Protect Your Vehicle Finish
A few simple habits can preserve your vehicle’s paint and stop minor marks from growing worse.
Wash correctly. Use the two-bucket method and a high-quality microfiber mitt to keep dirt debris from creating new surface scratches. Rinse thoroughly and let dry in the shade to avoid water spots.
Wax and seal. Regular waxing adds a protective layer over the clear coat and color coat. This barrier helps repel contaminants and makes light scratch removal easier when needed.
Consider advanced protection like ceramic coating or paint protection film. These options cut down on rock chips and daily abrasion and extend the time between touch-ups.
Inspect your vehicle every few weeks. If you see a paint scratch or primer scratches, assess depth and address the area quickly. For tougher issues, a professional auto paint shop in San Antonio can advise on the best steps and products to remove excess contaminants and protect your body finish.
- Park away from high-traffic spots and overhanging branches.
- Use a touch-up paint pen for small chips to stop rust on metal beneath.
- Show your vehicle some love during routine maintenance to keep value high.
Conclusion
Prompt attention and the correct service choice will keep your finish looking its best. Regular upkeep and quick fixes for light scratches help prevent bigger issues.
If damage goes deeper or you want a perfect color match, trust professionals. Miracle Body and Paint Collision Center offers expert paint work and full collision service to restore your vehicle.
We invite you to hire Miracle Body and Paint Collision Center to fix your collision repair damage on your vehicle today. They have 2 locations in San Antonio to serve you:
North West San Antonio – Leon Valley: 6217 Grissom Rd., San Antonio, TX 78238. (210) 680-1987
North East San Antonio: 4650 Walzem Rd., San Antonio, TX 78218. (210) 858-3630
Protect your investment and keep your car looking its best by choosing expert help for scratches and paint needs. Trust Miracle Body and Paint Collision Center for quality, color match, and lasting results.

